How to Build Your First AI Workflow (No Code Required)
A step-by-step guide to building your first automated workflow using no-code tools like Zapier or Make, starting with the task your team complains about most.
You do not need to learn Python. You do not need a developer. You need one repetitive task and 30 minutes.
That is it. That is the barrier to entry for your first automated workflow. If you can fill out an online form and follow step-by-step instructions, you can build something that saves your team hours every week.
We know that sounds like a sales pitch. It is not. We have walked dozens of business owners through this exact process, and the most common reaction when the workflow fires for the first time is some version of "wait, that's it?" Yes. That is it.
Here is how to do it.
Step One: Pick the Right First Workflow
This is where most people go wrong. They think about automation and immediately jump to their most complex, most painful business process. The multi-department approval chain. The custom quoting system. The inventory management nightmare.
Stop. Your first workflow should not be your hardest problem. It should be your most annoying problem.
Here is the test: ask your team what task makes them groan. Not the one that is strategically important. The one that is tedious, repetitive, and makes everyone's eyes glaze over. The one where someone on your team has said, out loud, "there has to be a better way to do this."
Common winners:
- New client intake — A customer fills out a form, and someone has to manually enter that information into three different systems, send a welcome email, and create a task for the account manager.
- Appointment reminders — Someone spends an hour every morning sending reminder texts or emails for the day's appointments.
- Lead follow-up — A new inquiry comes in from your website and sits in an inbox until someone remembers to respond.
- Weekly reporting — Someone spends Friday afternoon copying numbers from one tool into a spreadsheet and emailing it to the team.
Pick one. Just one. We will use new client intake for this walkthrough because it touches the most businesses and has the most satisfying payoff.
Step Two: Map Out What Happens Today
Before you automate anything, write down exactly what happens now. Every step, in order. Do not skip the obvious ones.
Here is what new client intake typically looks like for a service business:
- Customer fills out a contact form on the website
- Form submission lands in your email inbox
- Someone reads the email and copies the customer's information
- That information gets entered into your CRM (or spreadsheet, or whatever you use to track customers)
- Someone sends a welcome email to the customer
- Someone creates a task or calendar entry for the follow-up call
- Someone notifies the team member who will handle this client
Seven steps. Three of them are just moving information from one place to another. Two are sending messages. None of them require human judgment — they are the same every single time.
That is a perfect automation candidate.
Step Three: Choose Your Tool
You have three realistic options for no-code automation. We wrote a detailed comparison of Zapier vs n8n vs Make if you want the full breakdown, but here is the short version for your first workflow:
Zapier is the easiest to use. If you have never built an automation before, start here. The interface is straightforward, the app library is massive (7,000+ integrations), and the free tier lets you build basic workflows at no cost. The AI Copilot feature lets you describe what you want in plain English and builds the workflow for you.
Make (formerly Integromat) gives you more control and is cheaper at scale. The visual builder is slightly more complex than Zapier but lets you see your entire workflow as a flowchart. Better for workflows with branching logic ("if the customer is in North Carolina, assign to Team A; otherwise, assign to Team B").
n8n is self-hosted and free, but requires more technical comfort. Skip this for your first workflow unless you have someone technical on your team.
For this walkthrough, we will use Zapier because it has the lowest learning curve. Everything we describe works similarly in Make.
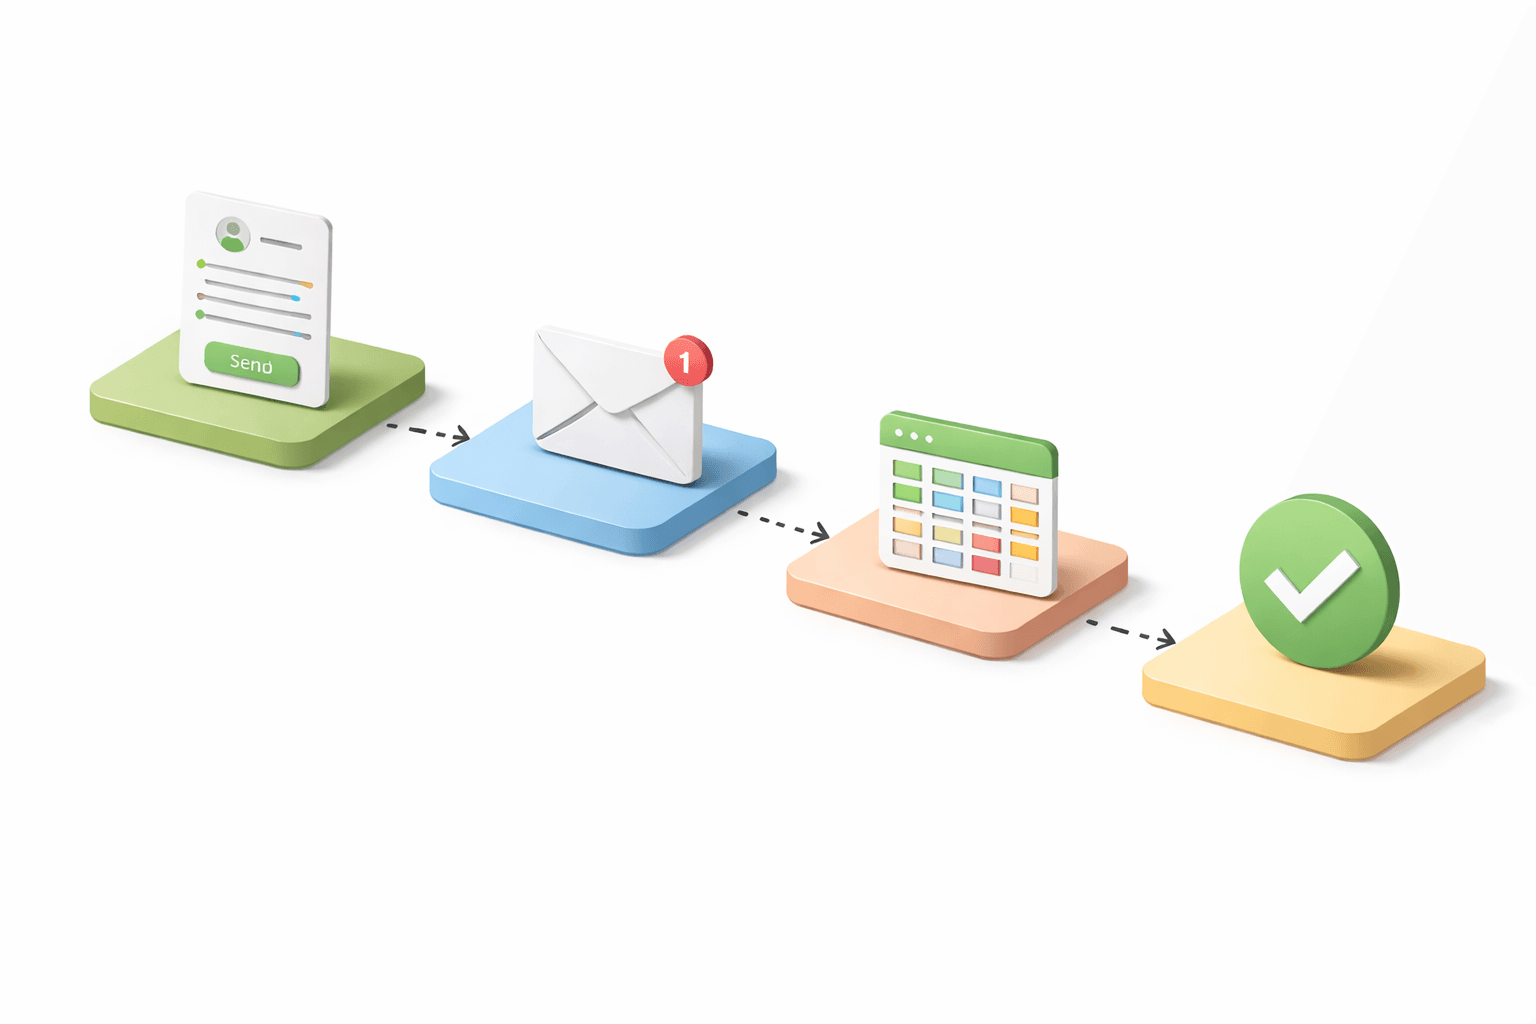
Step Four: Build the Workflow
Here is the new client intake workflow, step by step. This will take about 20 to 30 minutes your first time. After you have done it once, building similar workflows takes five to ten minutes.
The Trigger: Form Submission
Every workflow starts with a trigger — the event that kicks everything off. In this case, it is a new form submission on your website.
In Zapier, you create a new "Zap" and choose your form tool as the trigger app. If you use Google Forms, Typeform, Jotform, Gravity Forms, or just about any other form builder, Zapier connects to it. You select "New Form Submission" as the trigger event and connect your account.
Zapier will pull in a recent submission so you can see the data fields — name, email, phone, what service they need, whatever your form collects. This sample data is what you will use to set up the next steps.
Action One: Add to Your CRM
The first action is creating a new contact record. Connect your CRM — HubSpot, Salesforce, Pipedrive, Monday.com, or even a Google Sheet if that is what you are working with.
Map the form fields to the CRM fields. Customer name goes in the name field. Email goes in the email field. Phone goes in the phone field. The service they asked about goes in a custom field or a note.
This takes about three minutes. Click through the field mapping, test it, confirm the record shows up in your CRM.
Action Two: Send a Welcome Email
Add another step. Choose your email tool — Gmail, Outlook, Mailchimp, whatever you use. Select "Send Email" as the action.
Write your welcome email template. Use the form data to personalize it:
"Hi [First Name], thanks for reaching out to [Your Business]. We received your inquiry about [Service Requested] and someone from our team will be in touch within 24 hours."
That email fires automatically within seconds of the form submission. The customer gets an immediate response, and nobody on your team had to do anything.
Action Three: Create a Follow-Up Task
Add one more step. Connect your task management tool — Asana, Trello, Monday.com, Google Tasks, or your calendar. Create a new task or calendar entry:
"Follow up with [Customer Name] about [Service Requested]. Contact: [Email], [Phone]."
Set it for the next business day. Assign it to whoever handles new clients.
Action Four: Notify the Team
One final step. Send a Slack message, a Microsoft Teams notification, or a simple email to your team channel:
"New inquiry from [Customer Name] — interested in [Service Requested]. CRM record created. Follow-up task assigned to [Team Member]. Welcome email sent."
Turn the workflow on. You are done.
What Just Happened
Think about what you built. A customer fills out your website form. Within 30 seconds:
- Their information is in your CRM
- They received a professional welcome email
- A follow-up task exists with the right person assigned
- Your team knows about it
No one copied and pasted anything. No one forgot to send the welcome email because they got busy. No inquiry sat in an inbox for three days because someone was on vacation.
This is what automating customer onboarding looks like at its simplest level. And it took you 30 minutes to set up once. It will run every time, for every customer, without fail, from now on.
Common Mistakes to Avoid
We have seen these enough times to warn you.
Do not try to automate everything at once. Get one workflow working perfectly before building the next one. The excitement of the first one working will tempt you to immediately build ten more. Resist that. Live with the first one for a week. See what breaks, what you would change, what the next most annoying task is. Our workflow automation guide explains how to sequence these buildouts.
Do not skip testing. Before you turn on the live workflow, test it with fake data. Submit your own test form. Make sure the CRM record looks right, the email reads correctly, the task creates properly. A broken automation is worse than no automation because people stop checking whether the manual steps happened.
Do not over-complicate the first version. Your first workflow should have three to five steps. If you find yourself building branches, conditionals, and error handling on day one, you are doing too much. Get the simple version working. Add complexity later.
Do not forget about the humans. Automation handles the routine, but it does not replace judgment. The follow-up call still needs a real person. The customer who writes a long, emotional message about their situation still needs someone to actually read it. The best automations handle the boring parts so your people can focus on the parts that require empathy and expertise.
When to Graduate to Something Custom
No-code automation tools handle the most common workflows well. But they have limits.
If you find yourself building workflows with 15 or 20 steps, or needing to connect to a system that does not have an integration, or wanting logic that the automation platform cannot express — that is when it makes sense to talk to a developer about something custom. We wrote about how to know when your business needs custom software, and the tipping point is usually when you are fighting the tool more than it is helping you.
But that is a bridge to cross later. For now, the no-code tools will get you 80% of the way there, and 80% is a dramatic improvement over doing everything by hand.
The Thirty-Minute Challenge
Here is what we would like you to do this week. Set a timer for 30 minutes. Pick one task your team does manually, every time, the same way. Build a workflow that handles it automatically.
If it works — and it will — you will never look at repetitive tasks the same way again. You will start seeing automation opportunities everywhere. The appointment reminders. The invoice follow-ups. The report generation. All those little tasks that eat your team's time and add zero value.
That is not a technology transformation. It is just using the right tools to stop doing the same thing the hard way.
One workflow. Thirty minutes. Start there.
Blue Octopus Technology builds automated workflows for small businesses — from simple form-to-CRM connections to complex multi-system integrations. If you have done the 30-minute version and want to see what a fully automated operation looks like, let's talk.
Stay Connected
Get practical insights on using AI and automation to grow your business. No fluff.